 Guide
Guide Scan a Target
Photographing the target
A good photo is the foundation of a reliable analysis. Keep these points in mind:
- Capture the whole strip — every target card must be fully in frame and the paper should lie flat.
- Hold it as straight as possible — avoid strongly tilting or twisting the phone.
- Avoid shadows — from the phone or from yourself.
Lighting
The right lighting makes the biggest difference in detection.
- All shots in the black: White light on a white background — just place the target on a sheet of white paper or a bright table.
- Shots in the outer rings too: White light on a yellow background (e.g. yellow construction paper or card). This makes the white target field stand out clearly as well.
- Colored backgrounds (orange, red) also work reliably.
A sheet of yellow construction paper under the target gives the best results — especially when shots land outside the black aiming mark.
A dark background. If the target lies on a dark table, a wooden board, or the range floor, the white target field blends into the background and detection fails. Slip a bright sheet underneath — it’s the one move that prevents most failed scans. The two other common causes are in the blog post Why your photo won’t import.
Take or upload a photo
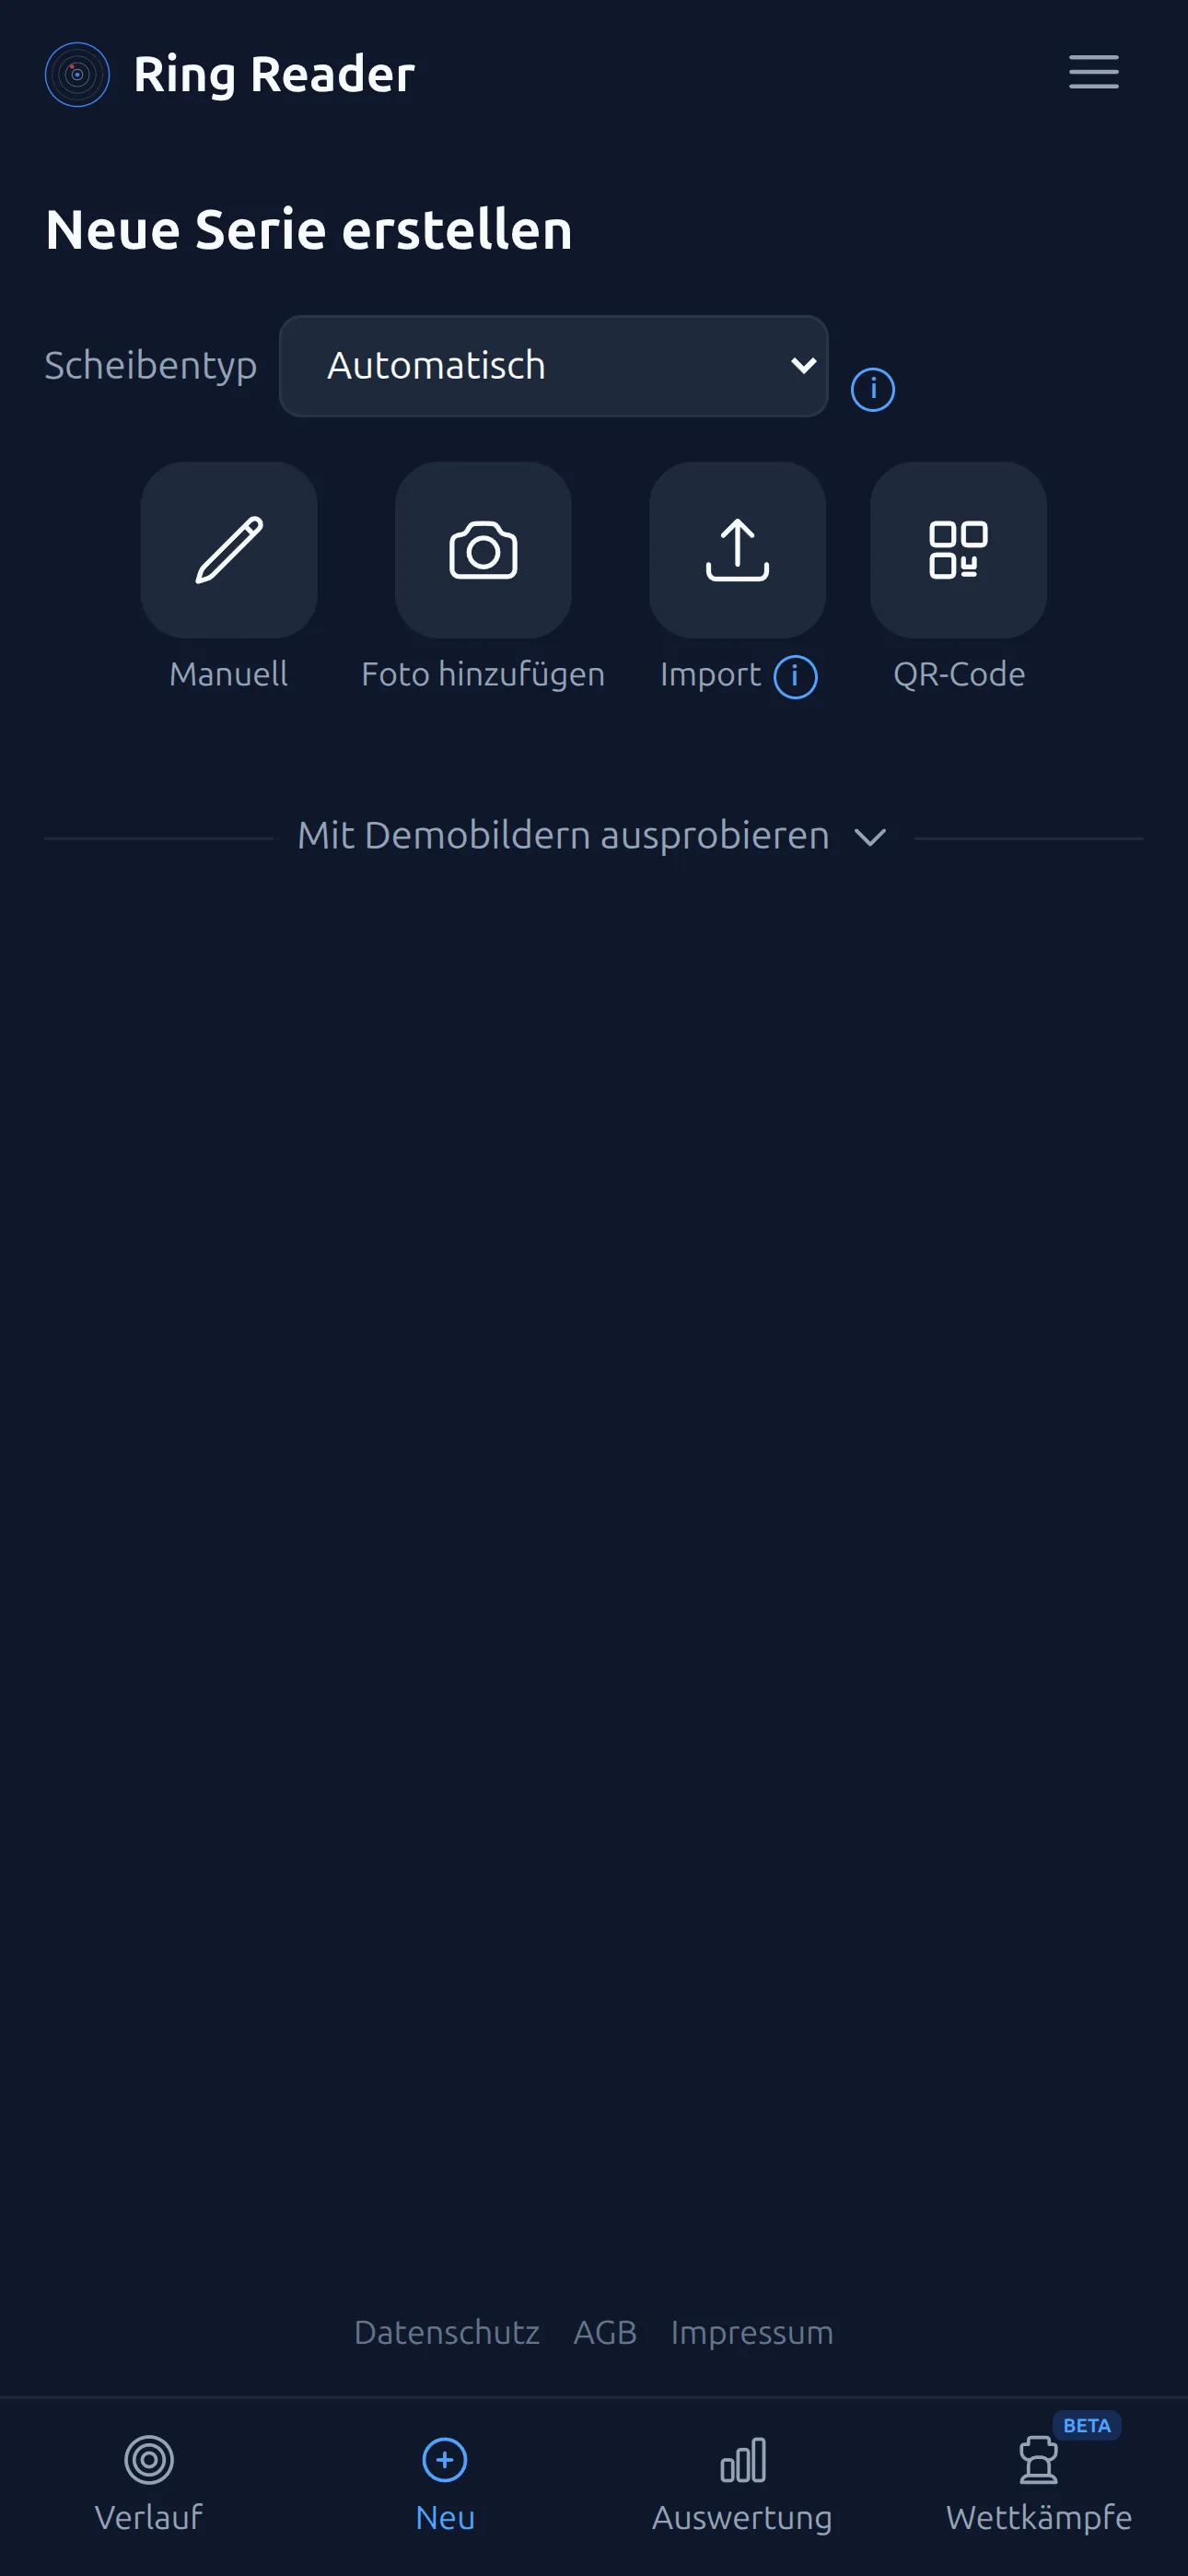
On the Capture page you have several options:
- “Add Photo”: On your phone you can choose between “Camera” and “Gallery”. The camera opens right in the app — aim at the strip, tap “Take photo”, done. Via the gallery you can select multiple photos at once, ideal when your series is spread across several strips. Once the app is installed on the home screen, you can also send a photo straight from the gallery via “Share”.
- “QR Code”: Scan the QR code on a Meyton printout or directly on the range screen — Ring Reader imports the result via the embedded PDF link, no photo needed. More on this in the chapter Import results.
- “Import”: Opens the import page for files (PDF, XML, JSON, CSV), e.g. from Meyton or WM-Shot. Also covered in the chapter Import results.
- “Manual”: Enter results by hand, see the chapter Manual entry.
On your first visit, the app shows the “Photo Tips” dialog with the key pointers for target strips and printouts. Use “Don’t show again” to hide it permanently.
Two more things to watch out for:
- Low resolution: The app warns about images with too low a resolution. For best results, photograph directly with your phone camera instead of using screenshots or downloaded images.
- Files too large: If an image exceeds the maximum upload size, the app tells you which file is affected — pick a smaller image or reduce the resolution.
If you upload many photos at once, the uploads are paced automatically so none go missing. Pending uploads are shown by an orange counter at the top left next to the logo — tap it to open the upload queue and view, retry, or dismiss uploads.
More than paper targets: automatic document detection
Every photo is classified automatically — you don’t need to select anything beforehand. Just take a photo, and Ring Reader figures out on its own what it shows:
- Paper target strip
- Meyton printout
- Meyton screen photo (Meyton Wertung)
- Disag printout
- Disag screen photo (Disag Rückschau, including tablets)
- Disag ShotsApp screenshots
- Intarso printout (ESA2015)
- Proto-S printout
- WM-Shot printout
Paper targets are scored directly on your device, photos of printouts and screens go through server-side OCR — both free. What works without a connection is covered in Using Ring Reader Offline. If a photo can’t be classified unambiguously, the “What’s on this photo?” dialog opens, where you pick the format manually. You’ll find an overview of all formats in the chapter Supported formats.
Photographing screens correctly (Meyton & Disag)
With photos of the range screen, almost every failed attempt comes down to the same cause: the wrong view gets photographed. The live shot display (the target with the bullet holes) looks like it contains everything — but Ring Reader reads no numbers from that view. What the app needs is on the scoring view.
A usable photo shows the shot list with:
- Shot numbers (1, 2, 3 …)
- Ring value per shot (10.4, 9.7 …)
- Teiler
- Direction arrows next to each shot
If that list is missing, the data is missing — no matter how sharp the photo is.
Meyton: Switch to the scoring view with the shot list (rings and Teiler column), not the plain target/hit view. Frame it so all shots of the series and the Teiler column are fully in the photo.
Disag: Open the Rückschau (the shot list with rings, Teiler, and arrows) — not the live shot display. The same applies to Disag tablets: open the Rückschau first, then photograph.
Hold the phone as straight as you can in front of the screen and avoid reflections — tilt the phone slightly if ceiling lights are mirrored in the display.
Every import route per system is compared in the blog posts Import Meyton results and Import DISAG results.
Capturing app screenshots completely (ShotsApp & BlackHole)
Screenshots from the Disag ShotsApp or the BlackHole app often cut shots off: the result list is longer than the screen, and a normal screenshot only captures the visible part. Import that, and the lower shots are missing.
Here’s how to capture the whole list as a long screenshot:
- Android: Take a screenshot and tap the “Scroll capture” / “Capture more” button (the name varies by manufacturer). The phone scrolls on automatically and stitches everything into one tall image.
- iPhone: There’s no native full-page capture inside apps (only in Safari). An app like Picsew stitches individual screenshots into one long image that you can upload like an Android scroll capture.
Ring Reader processes such long screenshots directly.
With the ShotsApp there’s also a convenient route without a long screenshot: photograph the overview (the series list) and one screenshot per series (detail view), and upload everything together. Ring Reader combines the series into individual results and one group. Important: each series detail view must be fully in frame — if a detail view cuts shots off, they’re missing from that series.
The rule in one sentence: every series must appear once, complete, across the uploaded images.
Choosing the target type
Ring Reader supports the following disciplines:
- Air Rifle 10m
- Air Pistol 10m
- Small Bore Rifle 50m (KK)
- Pistol 50m (sport pistol), the same target no. 4 as rifle 100m and 25m pistol precision
- Air Rifle/Air Pistol Supported (Auflage — supported/rested shooting)
You can set the target type in two ways:
- Automatic (default): Ring Reader detects the target type automatically from the ring geometry in the photo. In most cases this works reliably.
- Manual: If automatic detection doesn’t work, select the type before processing via the “Target type” dropdown — the options are Air Rifle 10m, Air Pistol 10m, Small Bore Rifle 50m, and Pistol 50m.
Supported (Auflage) disciplines (LGA, LPA, KKA) are also detected automatically as Auflage on Meyton printouts. When scanning an Auflage target, simply pick the matching base type (e.g. Air Rifle 10m) — the targets are geometrically identical.
Small bore 50m
50 m targets are detected automatically — including insert target cards (Einsteckspiegel). 1 to 10 shots per target card are supported. Two hints help you with difficult shot patterns:
- Dense shot groups: Heavily overlapping hits are flagged so you can verify the count — individual shots can be missed here.
- Too few shots detected: A hint helps you take a better photo — e.g. against a bright, plain background.
Air rifle with two shots per target card
Air rifle strips with two shots on the same target are fully recognized — both shots are detected and scored, even when they nearly overlap.
Processing
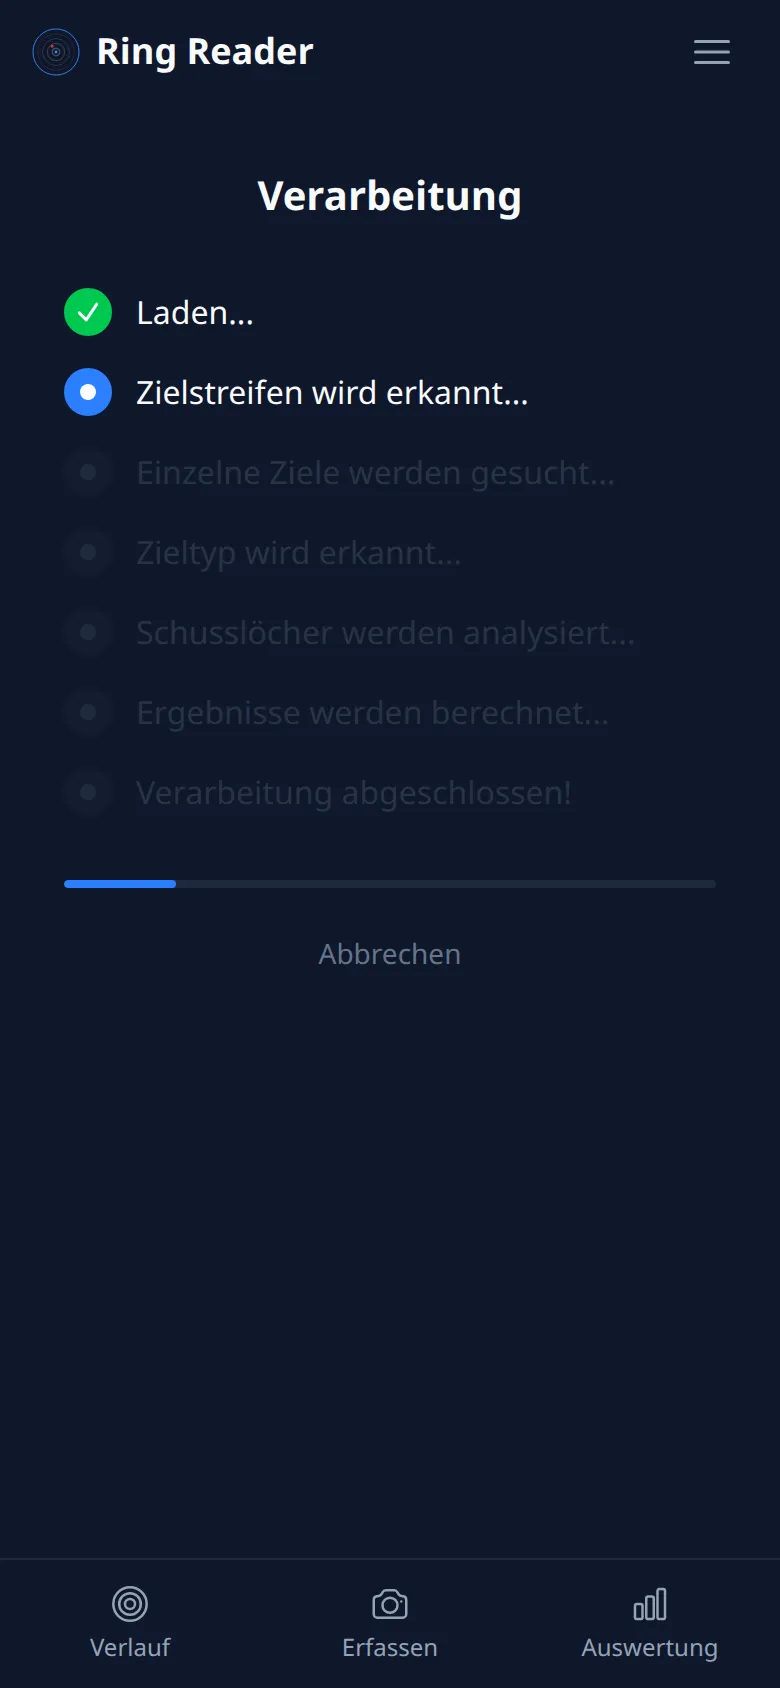
Tap “Process All” to start the analysis. Ring Reader analyzes the image in several steps:
- Detect the target strip
- Find the individual targets
- Detect the target type
- Analyze the shot holes
- Calculate the results
A progress bar shows the current status. Once detection succeeds, the app switches automatically to the review page.
Cropped target
If part of the target is cut off in the photo, Ring Reader shows a warning with the option “Retake Photo” or “Continue Anyway”.
When detection fails
Sometimes Ring Reader can’t score the strip correctly. In that case:
- Select the target type manually and try again.
- You’ll find more tips for better detection in the chapter Tips & Tricks.
- If the photo was recognized wrongly, send it to us with “Report detection issue”. What we do with it is in Why we need error photos.